One of the things you need to consider when attempting to optimise your website speed and boosting your SEO is how heavy your website is.
When it comes to website speed, every little bit counts. That’s why it’s important to take a look at your images and make sure they aren’t slowing you down.
By optimising your images, you can shave valuable seconds off of your load time and improve the overall user experience of your website.
In this post, we’ll explain how to optimise your images to increase your website speed. We’ll also share some tips for choosing the right file format and size for your needs. Let’s get started!
How can I tell if my website images are slowing me down?
You can generally tell if images are slowing a website down by simply browing the website. If the page is taking a long time to load, it’s likely that the images are the culprit.
You can also use online tools like Google PageSpeed Insights to get a more detailed analysis of your website speed and how you can improve it.
Another option is a tool such as GTMetrix, which measures your website’s page loading time and gives you a detailed report on what is causing delays. This report will show you how long it takes for each element on your page to load, as well as the size of each element.
Why should I optimise my website images?
One of the main reasons to optimise your website images is because they can slow down your page load time. This is especially important if you’re looking to improve your website’s SEO, as slow page load times can negatively affect your ranking.
Optimising your website images is also important for the user experience. When a page takes too long to load, most users will assume that the website is broken and leave.
We selected a random website from the internet and picked out a banner image that weighed in at 324KB. Not too bad, but after running it through an image optimisation tool, we were able to bring that size down 116KB. We generally see improvements between 60% and 80%.
Imagine if you had multiple unoptimised images on the same page? You could be looking at saving up to multiple MB! This could be a deciding factor between a visitor waiting on your page to load and pressing the back button.
Remember, not everyone is on a super fast internet connection and it takes time to load a page full of image rich content.
Is image format important?
When it comes to choosing the right file format for your website images, there are a few things to consider. The most important factor is the type of image you’re working with.
For example, if you have a JPEG image that contains text, you should save it as a PNG file. This is because JPEGs are designed for photos, which typically don’t contain text. PNGs are a good option for images with text or other sharp details, as they have a higher quality than JPEGs.
If you’re looking to retain a transparent background in your image, you should save it as a PNG file. However, if you don’t need a transparent background, you can save your image as a JPEG.
How do I optimise my images?
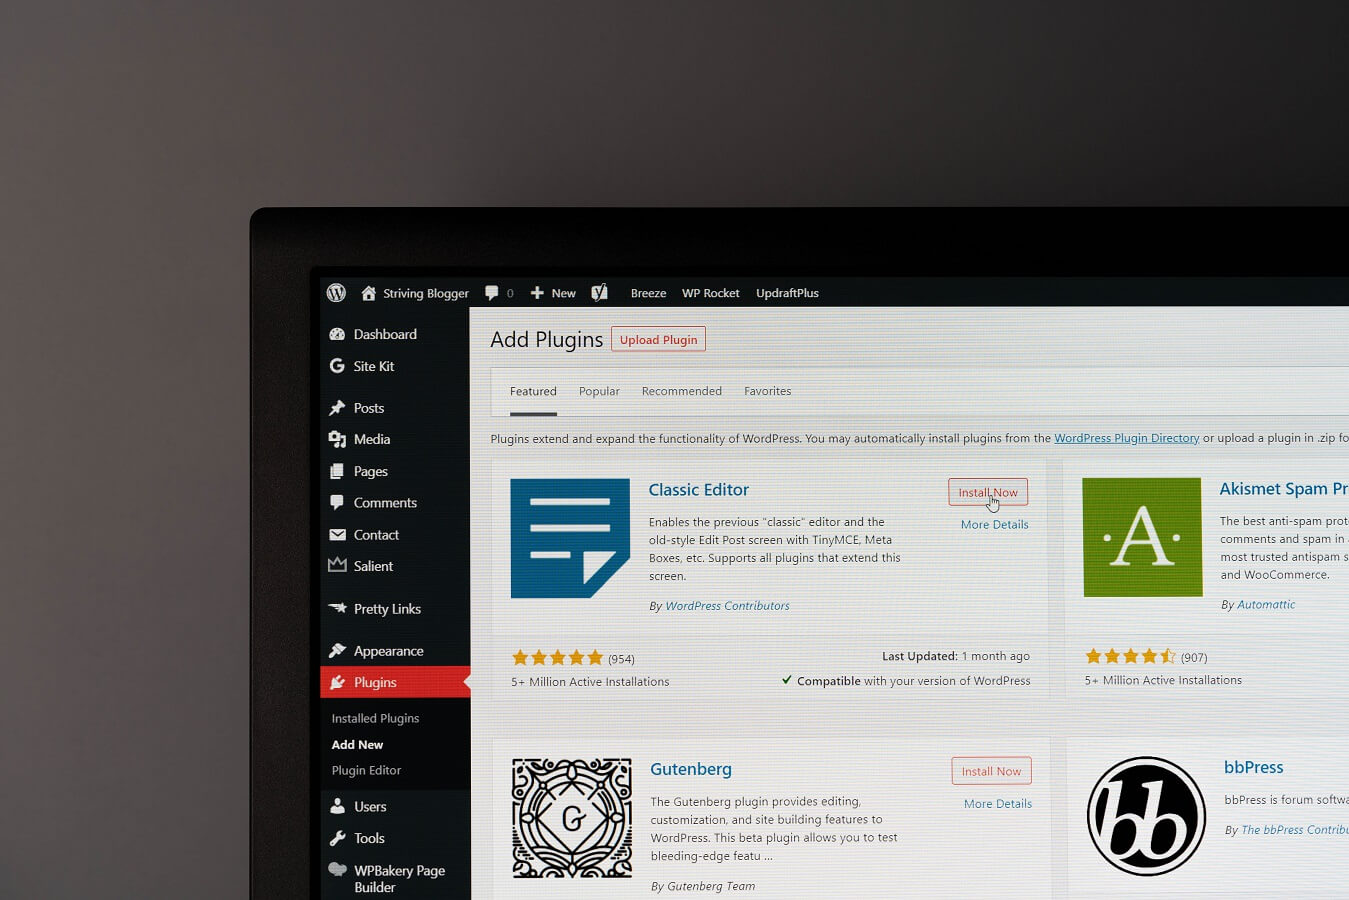
Some image optimisation tools integrate directly into your WordPress dashboard to assist with optimising existing images as well as newly uploaded ones.
Our recommendation is Short Pixel as we’ve experienced amazing results with it.
Here is an image size comparison from Short Pixel showing the amazing file size reduction without a noticeable decrease in image quality:
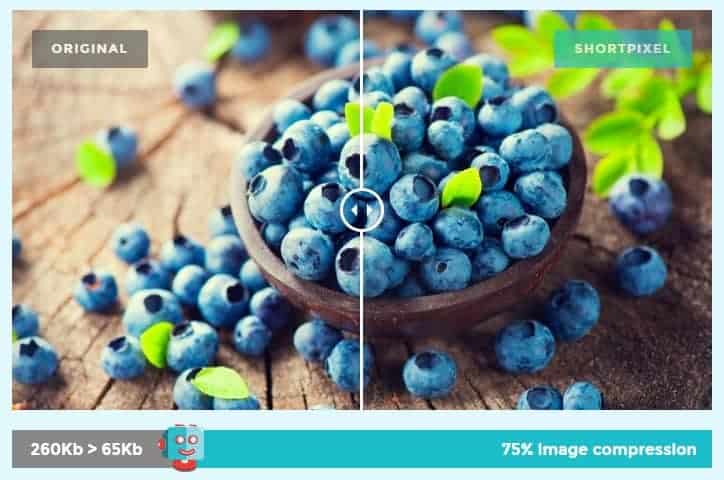
There are also other options such as TinyPNG. They also offer free and paid plans, as well as integrate into WordPress as well!
Can you do it for me?
We sure can!
Feel free to check out our range of WordPress Care plans that include website tasks to cover things such as image optimisation.
Optimising your images for faster loading times is a quick and easy way to improve the user experience of your website. By using tools such as Short Pixel, you can shave valuable seconds off of your load time without compromising quality or image size. The key takeaway from this post is that every little bit counts–so make sure to optimise those images!

