The Divi Theme Builder is one of the most powerful tools available for WordPress users looking to create custom templates for their websites. One particularly useful feature is the ability to design a custom blog post template. By doing so, you can maintain a consistent look and feel across all your blog posts without having to style each one individually.
In this guide, we’ll walk you through the step-by-step process of creating a custom Divi blog post template using the Divi Theme Builder. Let’s get started!
Access the Divi Theme Builder
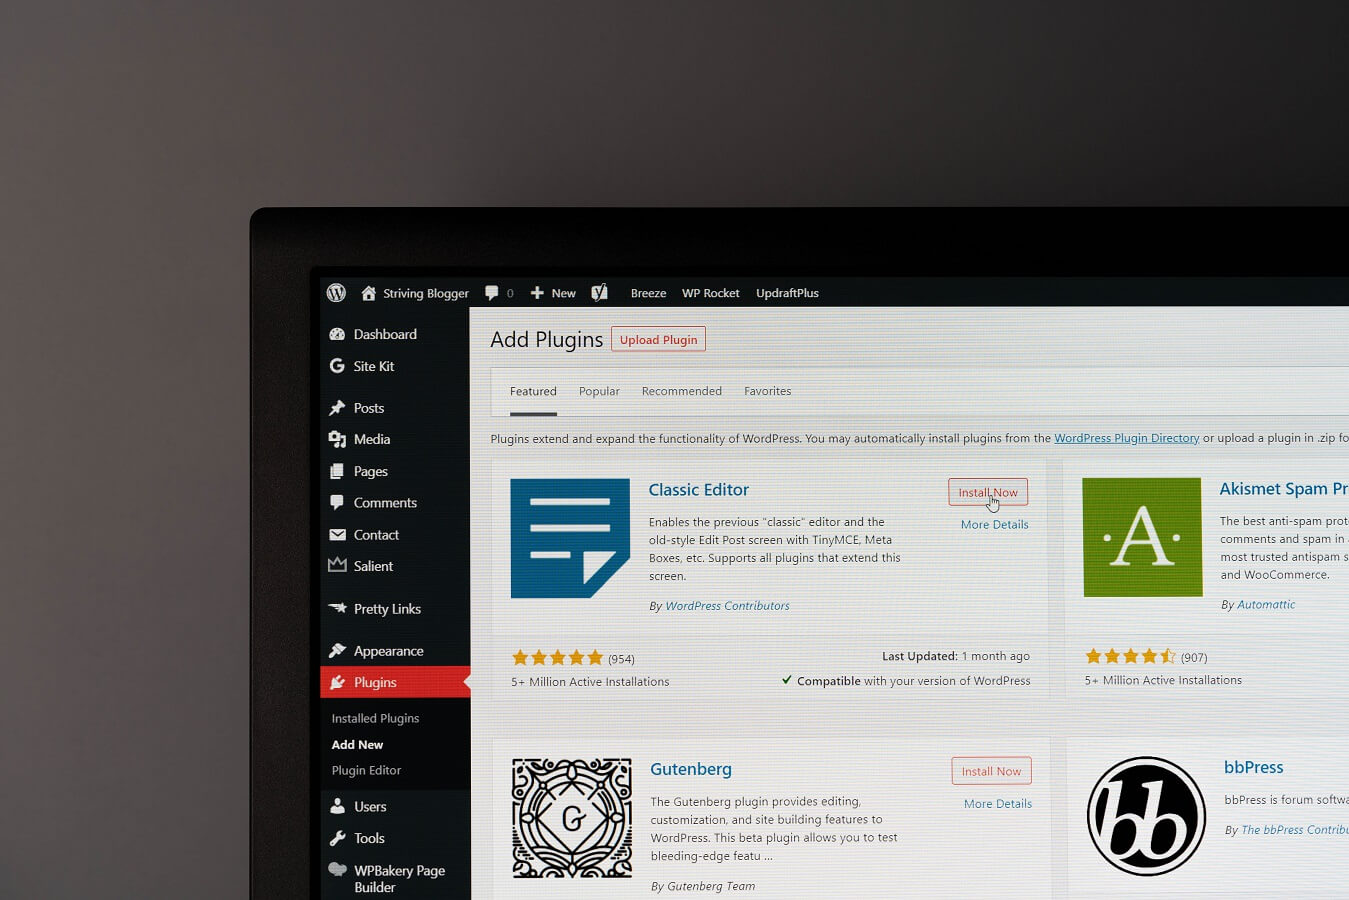
First, you’ll need to access the Divi Theme Builder within your WordPress dashboard.
- Log in to your WordPress admin dashboard.
- Navigate to Divi > Theme Builder from the left-hand menu. This is where you’ll manage all your global and custom templates.

Create a New Blog Post Template
Now that you’re in the Theme Builder, it’s time to create a template specifically for your blog posts.
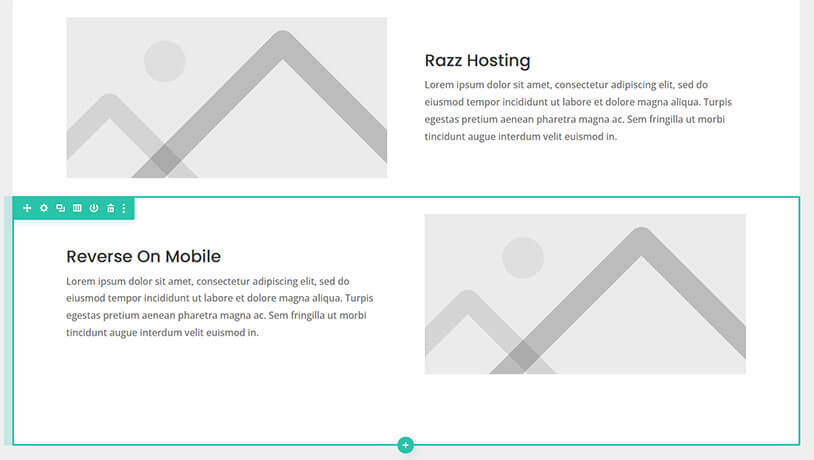
- Click on the plus icon (➕) to Build New Template. This will bring up a dialog box allowing you to assign this template to specific pages or post types.
- Assign the template to “All Posts” by selecting “Posts > All Posts” from the list. This will apply the template to every blog post on your website. If you only want to apply it to specific categories or posts, you can adjust this as needed.
- Click Create Template.

Add a Custom Body Layout
The next step is designing the main content area of your blog post template.
- In the new template, click Add Custom Body and select Build Custom Body.
- Choose Build From Scratch. Divi will now open the Visual Builder, where you can start designing the body of your blog post template.

Add Dynamic Blog Post Content
You want your blog post template to dynamically pull in the content from your blog posts. Divi makes this simple with the “Post Content” module.
- In the Visual Builder, add a new row, and within the row, add a new module. Choose the Post Content module from the list.
- This module will automatically display the content of each individual blog post when the template is applied.
- Once the module is added, you can style the text, headings, images, and other post elements in any way you like, using Divi’s built-in design options.
- Use Divi’s Design tab to adjust font sizes, colors, and spacing for a consistent look.

Add a Post Title and Featured Image
To make your blog post visually engaging, you’ll want to include the post title and featured image at the top of your posts.
- Add a new section above your Post Content module.
- In this section, add two modules:
- Post Title module: This will automatically pull in the title of each blog post.
- Customise the appearance of your post title under the Design tab, adjusting fonts, alignment, and colors to match your style.
- This same module also allows you to display the Featured Image, which it will do so by default.
- You can adjust the size, placement, and alignment of the featured image to suit your template’s design.
- Post Title module: This will automatically pull in the title of each blog post.

Add a Comments Section (Optional)
If you allow comments on your blog, you may want to include a comments section in your template.
- Scroll to the bottom of the template and add a Comments module.
- This will display the comment form and any existing comments for each post.
Add a Related Posts Section (Optional)
Adding a “Related Posts” section at the end of each post is a great way to keep readers engaged and improve internal linking.
- Add a new section below the Post Content module.
- Add a Blog module and configure it to display related posts based on categories, tags, or other criteria.
- Use the Design tab to customize how the related posts are displayed (grid, list, etc.).

Add Social Media Follow Module (Optional)
Encourage readers to follow you on social media by adding a Social Media Follow module at the bottom of each blog post.
- Add a new section and Social Media Follow module below your post or in the footer.
- Customize the social media icons and links to your profiles.
- You can adjust the size, style, and layout of the icons under the Design tab.
- This feature encourages readers to stay connected and follow your brand across various platforms.

Save and Apply the Template
Once you’re satisfied with your design, it’s time to save and apply the template to all blog posts.
- Click the Save button in the bottom-right corner of the Visual Builder to save your custom blog post template.
- Exit the Visual Builder and return to the Divi Theme Builder dashboard.
- Finally, click the Save Changes button at the top of the Theme Builder screen to apply your template site-wide.
Final Thoughts
Creating a custom blog post template with Divi Theme Builder allows you to design a beautiful, consistent layout for all your posts with minimal effort. Once your template is set up, each blog post you publish will automatically inherit the design, saving you time and ensuring a professional appearance.
Now that you’ve learned how to create your own blog post template, why not try experimenting with different layouts and features? With Divi, the possibilities are endless!
Have any questions, send us a message 🙂